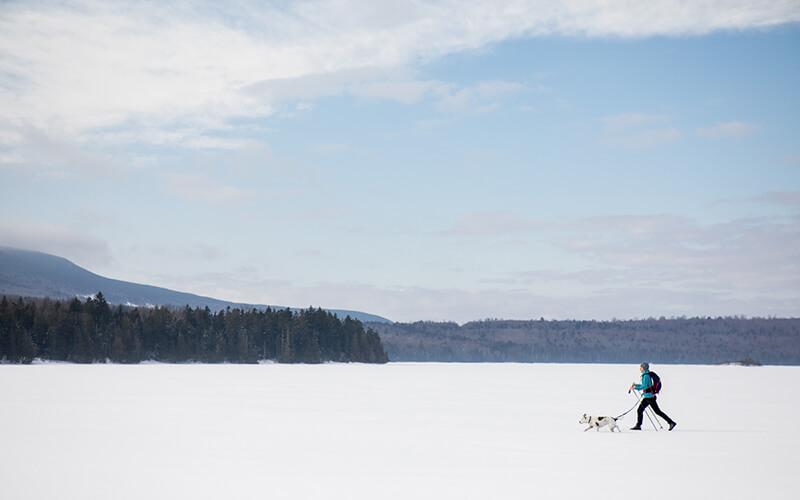
Safe water crossings—like this one across Long Pond in Maine’s 100-Mile Wilderness—require planning and care.
Excerpted and adapted from Essential Guide to Winter Recreation, from AMC Books.
Making your way across brooks, streams, and open water carries hazards any time of year. There’s always the chance you’ll slip and end up in the drink. When it’s well below freezing and ice is involved, the dangers multiply exponentially, although there are also benefits. Thanks to ice, we often can cross bodies of water we’d have to go around in summer, which can save a lot of time. But safety, as ever, is paramount.
The first step in making safe water crossings in winter is to observe the conditions. Is there open water? Are there paths where the ice looks solid all the way across? Is water moving underneath the ice? Are there tributaries feeding the body of water or eddies where currents continue to spin? Do you see cracks or fissures, open spots, or wetness? Are there a lot of bubbles just below the surface? (Clear ice is generally more solid than ice riddled with air pockets.) Could there be salt in the water because you are near an ocean? (Tidal or brackish waterways do not freeze as solidly as fresh water.)

Ice Color
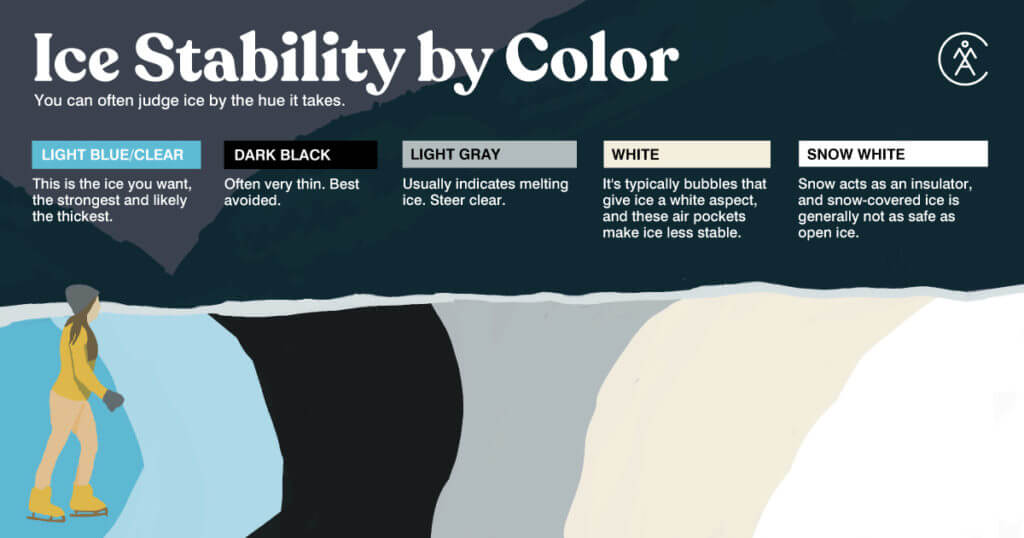
Remember the venerable saw: “Thick and blue, tried and true; thin and crispy, way too risky.” It’s a handy guide. You can often judge ice by the hue it takes.
- Blue or clear: This is the ice you want, the strongest and likely the thickest. This is the safest ice around.
- Dark black: Often very thin. Best avoided.
- Light gray: Usually indicates melting ice. Steer clear.
- White: It’s typically bubbles that give ice a white aspect, and these air pockets make ice less stable.
- Snow white: Snow acts as an insulator, and snow-covered ice is generally not as safe as open ice.

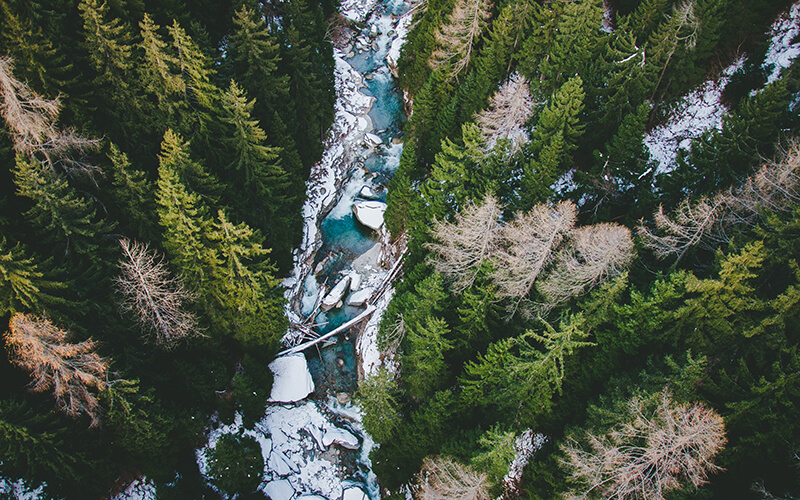
Making safe river crossings in the winter requires first assessing water and ice conditions.
Streams and Rivers
Brooks, streams, and rivers pose a conundrum for hikers: They tend to be shallower than ponds and lakes and not nearly as wide, making them tempting to cross, but they also often contain moving water, which doesn’t freeze as quickly or as solidly as flat water. Many hikers, even during winter, strip off their boots and wade across shallow, unfrozen waterways. Because your feet are likely heated from hiking, this isn’t as bad as you might think, so long as you can get them dry and warm on the far side. If you step out into sticky snow, your feet and boots get cold faster, and you don’t want to get any part of your clothing wet, especially if it’s windy, so never allow your boots to take a soaking—although it’s better to get the outside of fully waterproof boots wet than to rock-hop and risk falling in. If the stream is frozen, take stock of the situation as described above, looking for solid paths across. Stream crossings often require scouting up- and downstream, seeking out the best option. Do you see places where others have successfully crossed? Follow their footsteps. Logs, rocks, or other natural bridges are preferable to ice, wherever possible. Once you’ve selected your route, use your poles or throw rocks to check the ice. When you feel you’ve found a safe route, continuously probe the ice ahead with your pole. Traction devices, such as Microspikes, provide better grip on your way across and are recommended when crossing ice. Spread out your group and move single file, as you would in avalanche country, making your way across as quickly as possible. Wearing snowshoes or skis also helps distribute your weight, which could enable a safe crossing of ice that otherwise might be hazardous.

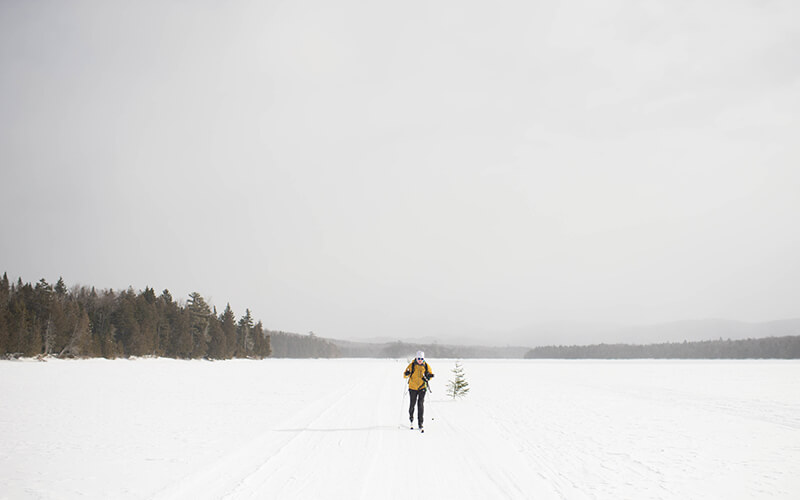
A cross-country skier crosses Long Pond near AMC Gorman Chairback Lodge and Cabins in the Maine Woods.
Ponds and Lakes
Ponds and Lakes Crossing big bodies of water requires a little more deliberation than streams and brooks; after all, you’ll be out over deeper water longer. But the techniques are the same. Check the ice for safety and look for thin spots or places where the ice looks milky. Always aim for clear ice when possible. Many winter explorers drill holes to check thickness, especially if they’re leading a group. If you are crossing a lake in a group, keep the members of your party separated by about 50 feet. As well as being generally useful, rope is a good way to help maintain that distance, with everyone holding on to sections 50 feet apart. Skis and snowshoes can help distribute your weight more evenly across a larger surface. If you’re especially nervous, carry your Microspikes in your hand—they’ll help you grip the ice if you do fall through.
If You Fall Through
If you fall through the ice, keep your wits about you. Most people have one minute to get their breathing under control, ten minutes before their muscles become too cold to be useful, and one hour before they lose consciousness. That first minute is critical. Most people who plunge through the ice into freezing water drown because they start thrashing around and gasping for air, which uses valuable energy and often causes them to slip underwater with their mouths open. If you can pull yourself together, taking deep breaths at the surface and calming down, your chances of survival rise greatly. The next step is to aim yourself at the point where you went in. Presumably, the ice is thick enough there to support you, because it did up to the point where you fell through. Don’t attempt to pull yourself out using straight arms and the ice as leverage, the way you would at a swimming pool. Stretch yourself out onto the ice as far as you can horizontally and kick your feet as if you’re swimming in an attempt to propel yourself up onto the ice. As you do, dig in your fingers and pull with everything you’ve got. Once you’re far enough out of the water, roll away from the hole and then crawl or walk yourself back to safety. On shore, follow the steps to prevent and treat hypothermia.